


Today I should have imported my first enemy model into Unity and finally start prototyping the combat system. Instead, I spent the whole afternoon wrapping my head around how to fix bad deformation by acting on weight painting. But let me go with order.
To start prototyping my animation-based combat system I needed an enemy so, a couple of days ago, I set on the challenge of making one myself. I quickly googled some reference characters and I eventually settled for a troll.
One of the main goals I want to achieve with my project is to learn the basics of all the possible disciplines that go into making a 3D game so this was a perfect excuse to practice more what I still fear the most: modelling, rigging and animating.
I started modelling directly without sculpting first, which is something I'll leave for another day. When I got to an acceptable result, I proceeded to rigging it using Blender's Rigify plugin and I then crafted some basic animations: an idle and walk cycle and a smash attack. They turned out pretty decently considering I did not use any existing reference for these.
Unfortunately moving my model around highlighted the terrible deformation it was subject to. I assigned weights automatically by using the default "Set parent with automatic weights" function which is most of the times works well enough. But not this time. My model is not really the standard "Human" so it was to be expected. That meant only one thing: it was time to work on a fix. The biggest problem with this phase is that reading and watching videos on the topic helps only marginally as each model is different... and anyway the best way to learn is always doing.
So, there I started: I spent a full day trying to achieve what in the end is a result that, even if far from perfect, I consider acceptable and that, most importantly, taught me a great deal on how to recognise and fix bad deformation.
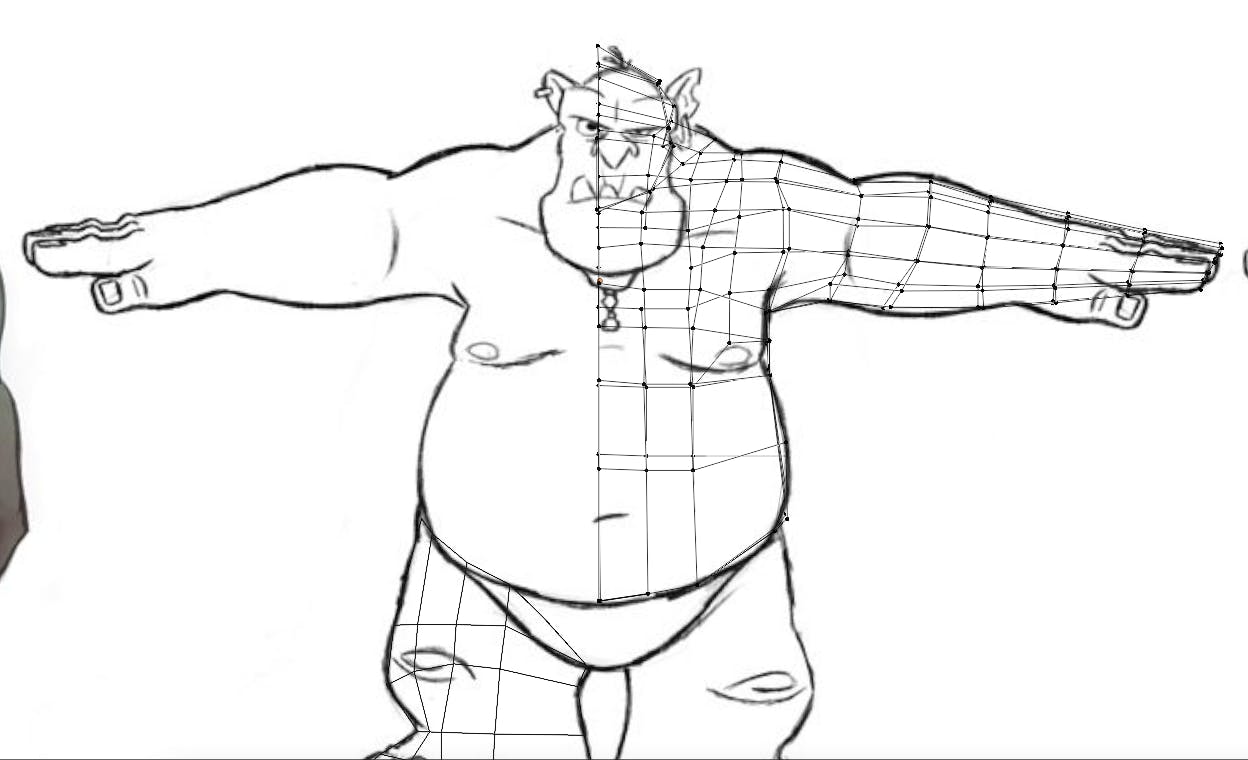
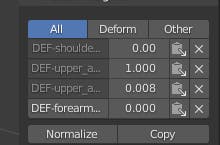
One of the most helpful approaches I developed while at it was to identify the source of the problem by playing a particularly complex animation with a lot of rotations and translations which helped exposing problematic areas in the mesh. At that point, switching to Wireframe helped a great deal to clearly isolate the misbehaving vertices so that they can be acted on individually by playing with their Vertex Weights panel while in Vertex selection mode.

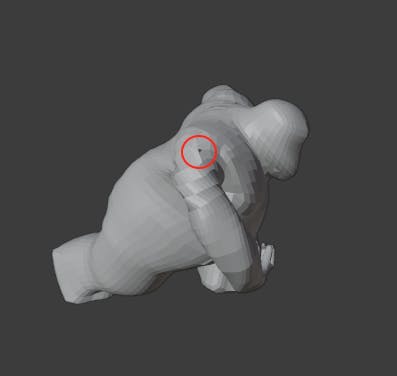
For example, something like the following:
 would present itself like this, when switching to
 Wireframe mode:
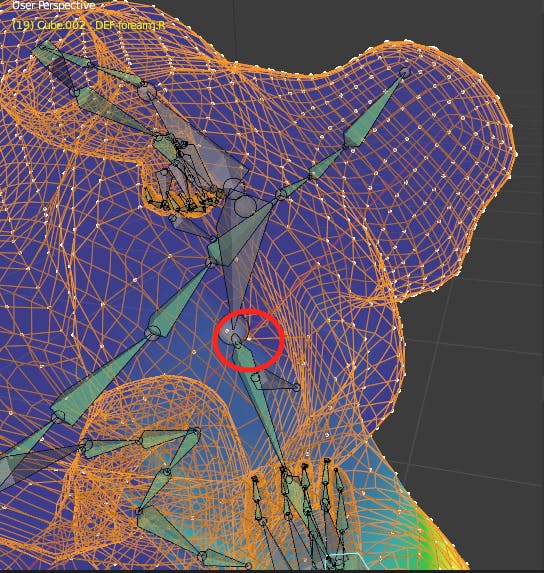
The awkward vertex is immediately visible when using this view. At this point it is just a matter of playing around with its assigned deformation bones until the topology starts to make sense again.
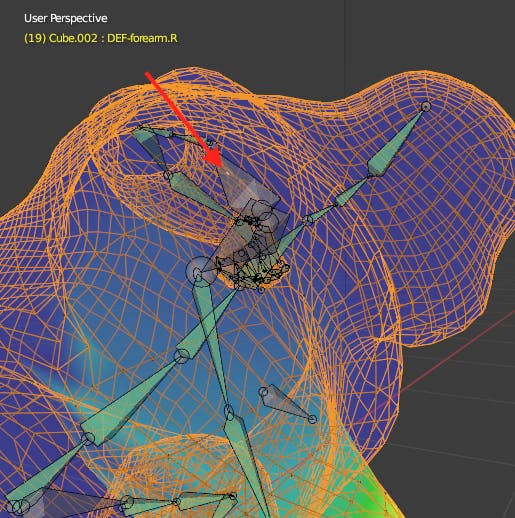
With a little tweaking it's not hard to obtain a much nicer result:
I repeated this process for the whole model making sure to scrub around my animations until I fixed all the issues I could possibly see. It took a while to get the hang of it but after an entire afternoon my mind was finally starting to automatically realise where to act to fix most of the deformation issues of my model.
In the perspective of quickly reaching the phase of a playable prototype of my idea it probably hasn't been the best use of my time but I am extremely satisfied anyway because this is just another small but important step in the direction of becoming a more well-rounded game developer.
I hope the solution I have adopted and explained here will come in handy to someone in the same situation.
Till the next time, with some report of the next step which will probably and hopefully be in-engine!